expr:class='"loading" + data:blog.mobileClass'>

Friday, September 24, 2010

Leekage

Well, my scouts up No’th says next week is the last for this season’s crop: Sad? Not really; more of a great memory, a look forward to next year, and a whole new season to enjoy!

I love fall and winter, and as y’all live where you do, y’all must as well, right? As far as food goes, these seasons are comfort food turf and that’s never a bad thing; any chance to enjoy the heartier fare is a good thing.

Christie wrote of next week, “Leeks will be in the bucket, so a post would be great. Sizes range from smallish on up to good-sized---although no really huge giants like you sometimes see in the supermarkets.”


Actually, this is good news; size matters with veggies to a degree, but probably in reverse order to umm, certain other topics… In other words, huge doesn’t mean quality when it comes to veggies. There’s a very good reason that ‘baby’ this and that are coveted more than their older siblings; they taste better, are generally more tender, and are much more fun to behold on a plate.

So what the heck is a leek anyway? Are they good, do we like them? They are, we do, and they’re of the same family as onions and garlic and that is why we do! Like their cousins, they are wonderful in many things, even standing as the center point of a dish or two. If you’re a foodie, you may have heard the term Ramp thrown around in the last few years; the ramp is simply a wild leek, FYI. Leeks are relatively rich in iron, vitamin c, manganese, folate and vitamin B6, all of which are good for ya, so dig in with confidence. Leeks are more common in stores than they used to be, although you’re still more likely to find green onions. A leek is, for my palate, a richer, deeper flavor profile than an onion, and for that reason, I like them a lot; it’s kind of like choosing shallot over onion, I guess…

When you prep a leek for cooking, keep in mind that the dark green upper leaves are generally tough and not something you want to nosh on, although you can clean ‘em up and use them for flavoring vegetable stock, which you really aughta do! The bulb and the white/light green lower leaves are what we want to go to town on. So, when you’re ready to cook, pull ‘em out, inspect ‘em and wash off any dirt or critters. Cut the dark greens off and set them aside for later. Cut the little root fringes off the bulbs and chuck those. Now do a pro prep move, and fill a bowl with cold water, toss in your leeks and gently wash ‘em until no dirt shows up in your water bowl, (It might take a couple of water changes to do). You’re now basically ready to use these guys.


So, what to make with leeks? Well, the sky really is the limit, so why not head to the internet for some inspiration? Seriously, you ask, a leek recipe website?! Yup, in fact leeks are, as far as I can tell, all they do; their recipes are great and broad in scope, so head on over there and start cooking!

No, wait, don't go: We have more to do here first… My personal favorite thing for leeks is stock and base for soup or stew: While leeks.org has a lot of stuff, I didn’t see anything on this stuff, so here goes.

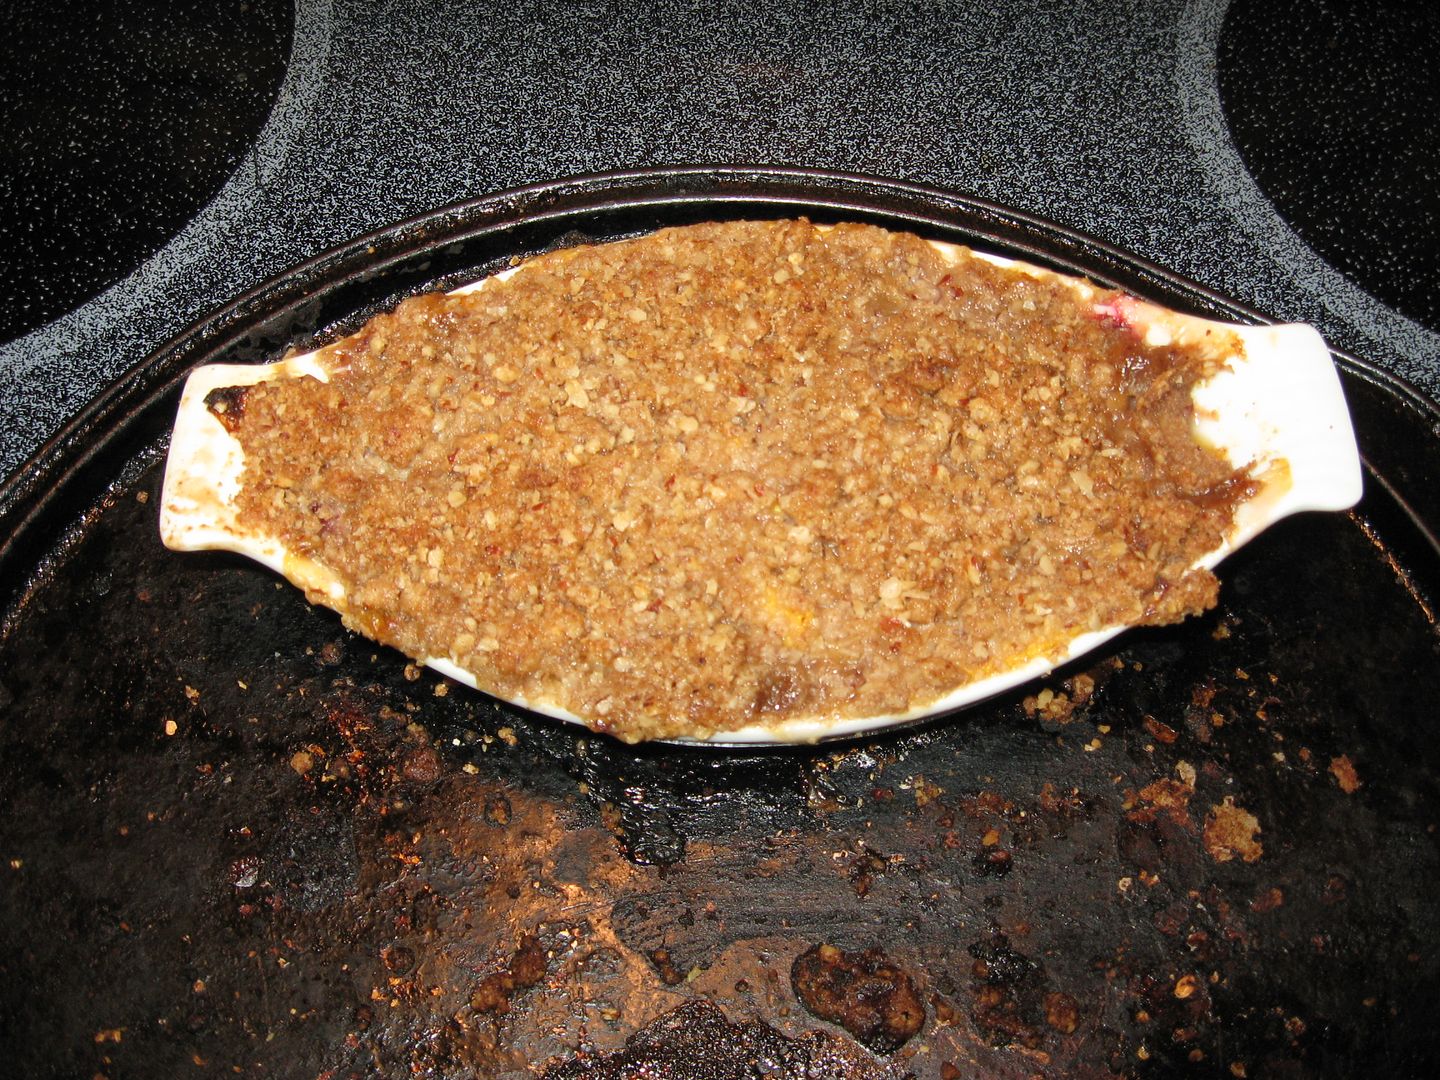
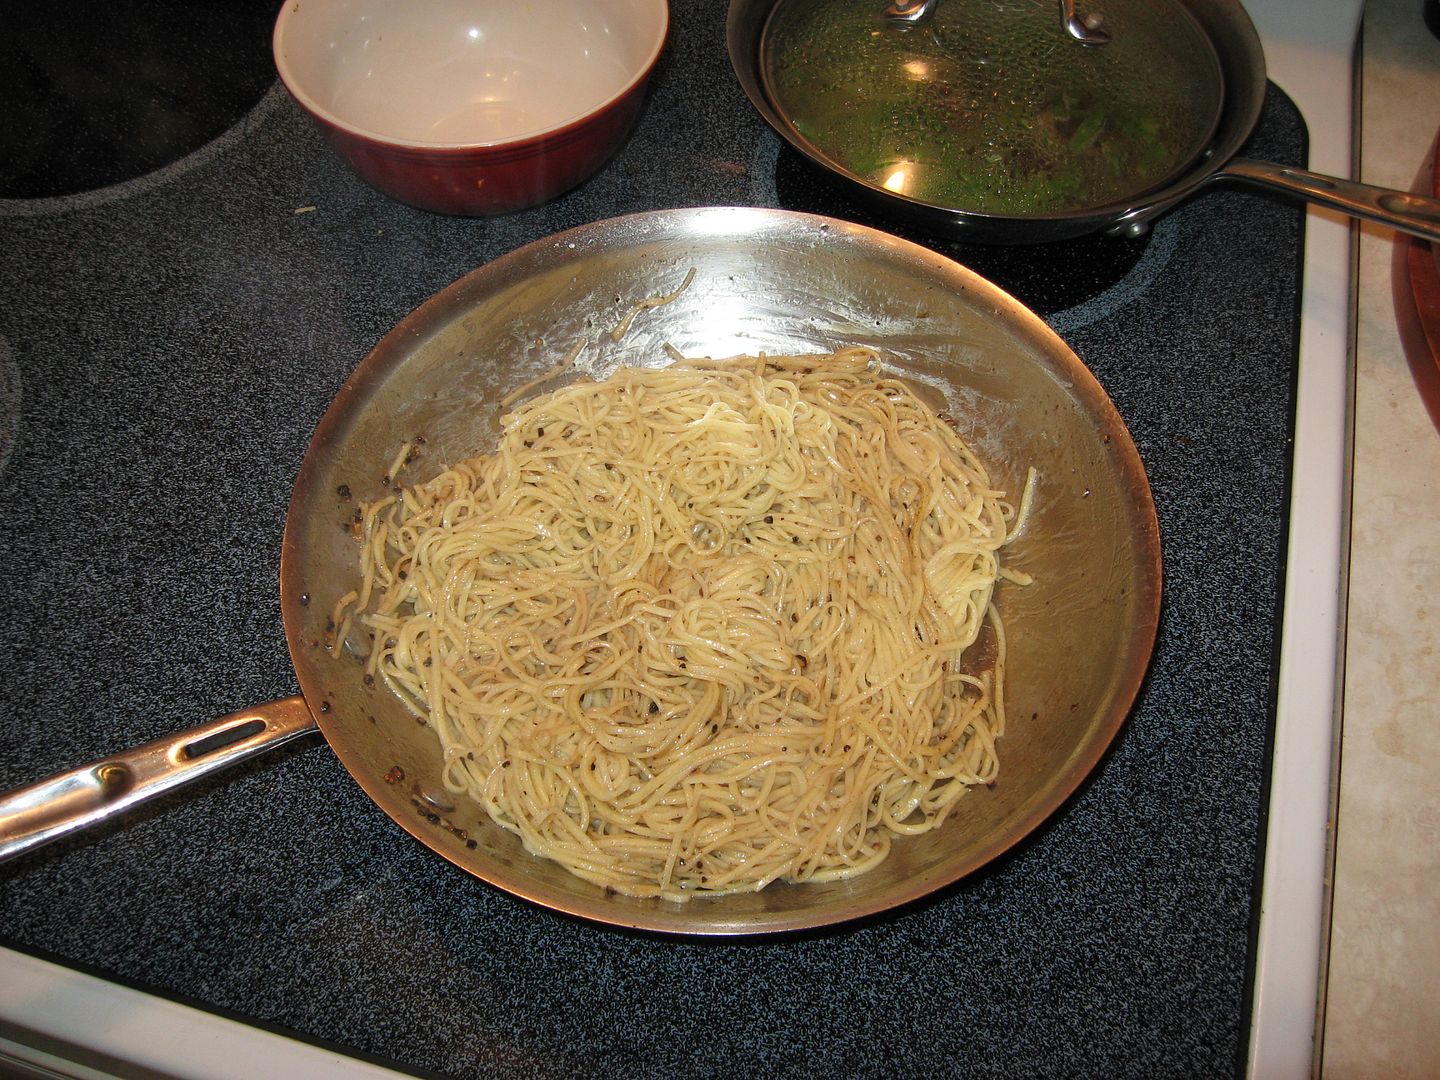
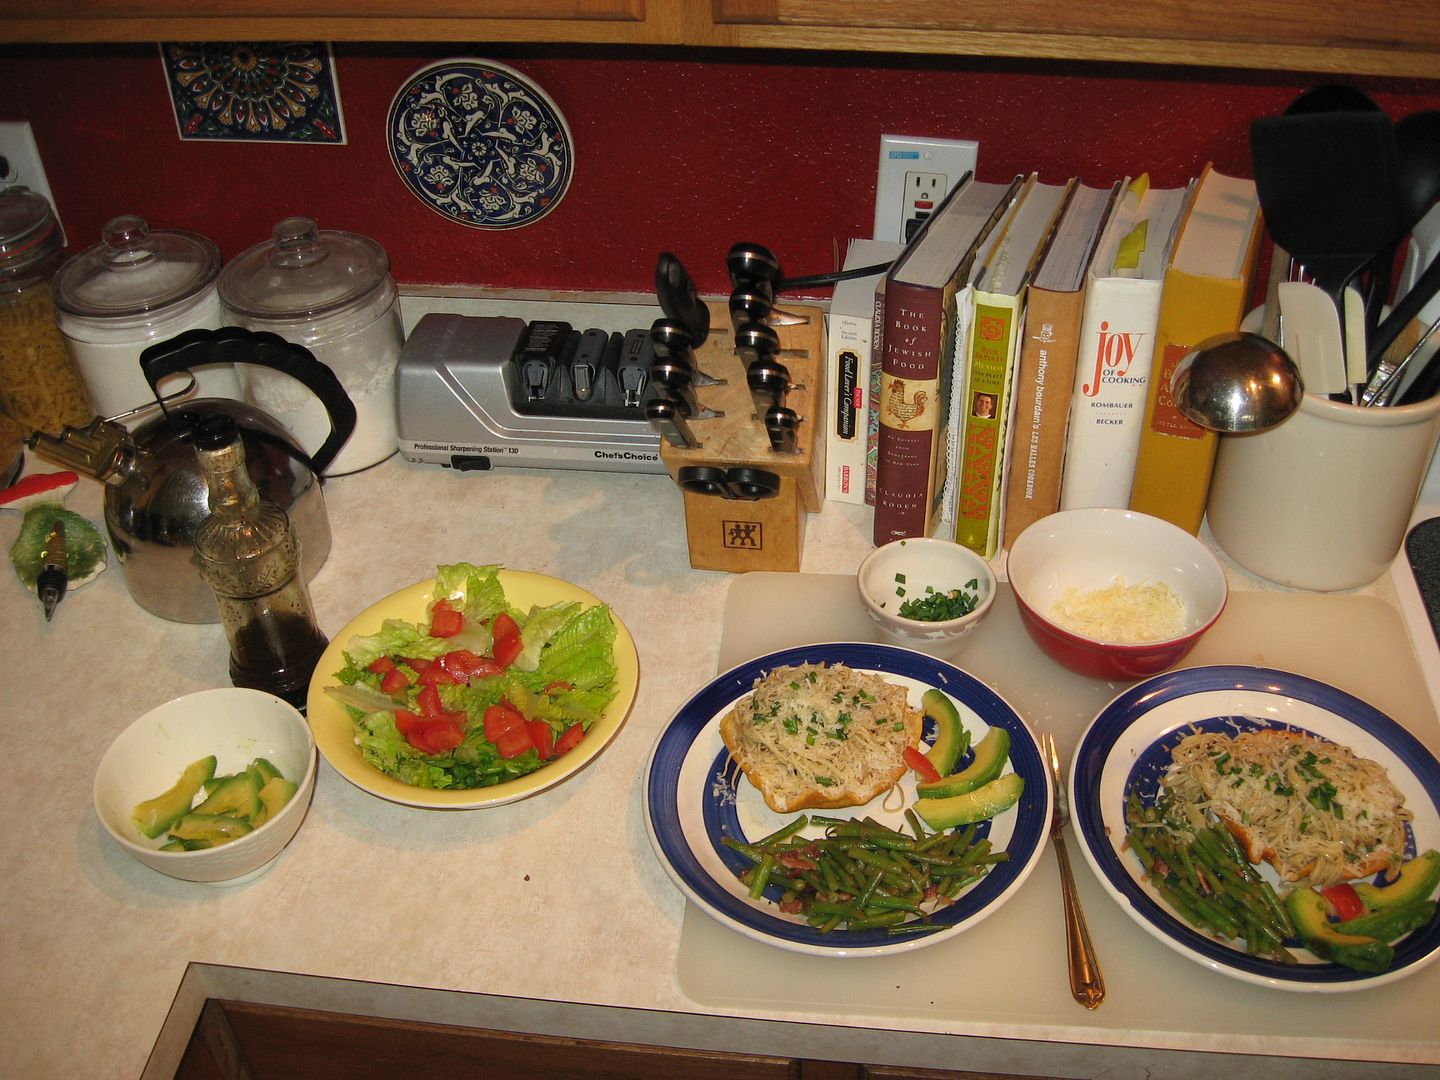
One very important key to a good soup, stew, or stock is the presence of a vegetable element; it provides flavors you just can’t get without ‘em. And the key to that element is mirepoix; mirepoix, (mere pwah), is a schmancy French word for a very simple and important thing, namely onion, carrot and celery mixed together. This simple mix of 50% onion, 25% each carrot and celery, adds a depth and breadth to soup, stew, sauce, reduction, glaze, roux, and on and on; it’s that important. When you make mirepoix, prep your veggies based on what you’re going to use the mix for: If you’re making soup, a fine dice is good; if you’re gonna make a big batch of stock, you can cut big old couple-of-inch pieces and be just fine with that; get the picture? We want these wonderful veggies to deliver flavor evenly and completely. So, let’s do one for a nice fall soup.

1 cup 50%-50% mix of leek and sweet onion, ¼” diced
½ cup carrot, ¼” diced
½ cup celery, ¼” diced
Pinch of salt

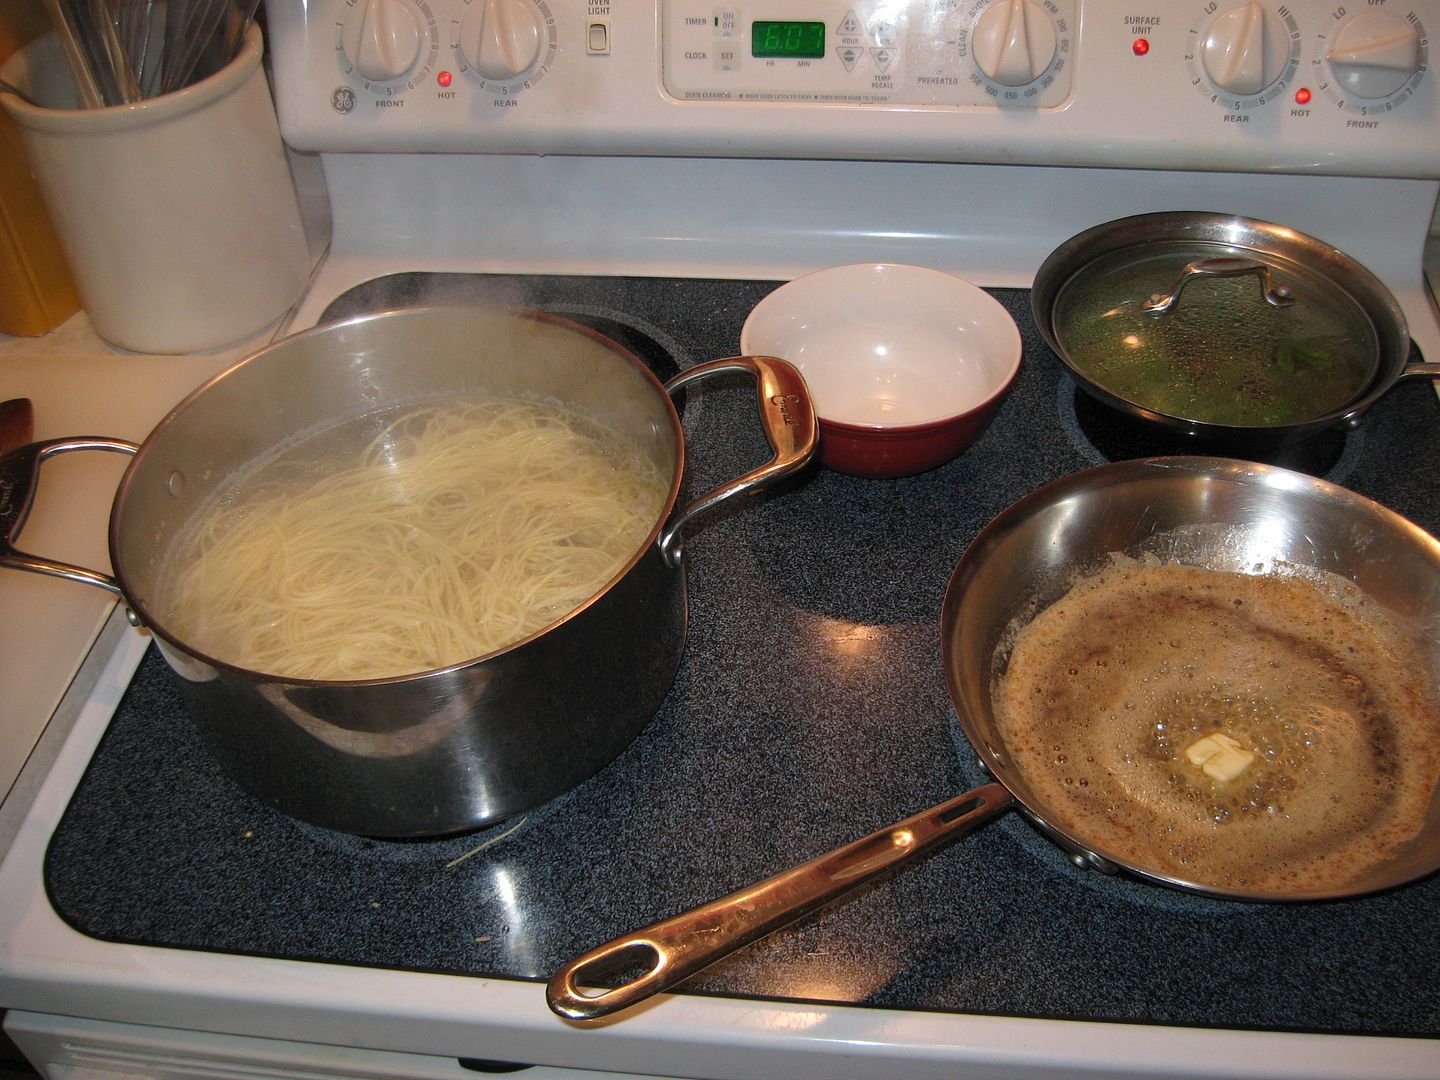
Heat a tablespoon or two of olive oil in a sauté pan on low; add veggies and salt and sweat them.


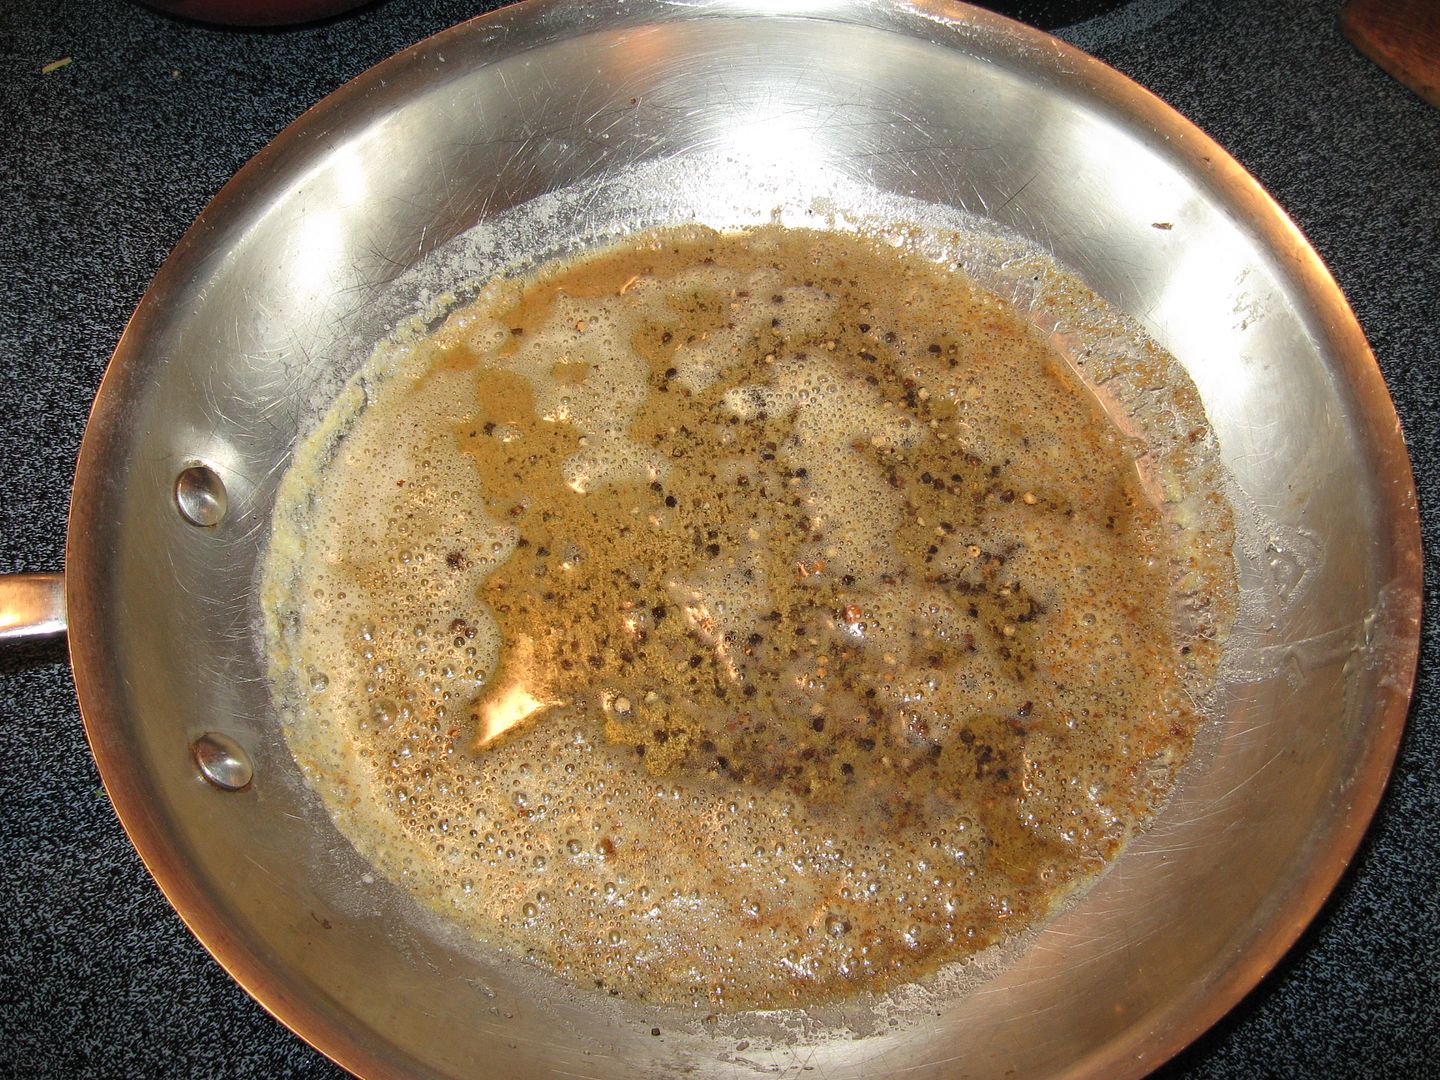
Terminology Aside:
“What is sweating, and why would I do it?” Well first off, it’s not hanging out to long in Texas heat… Sweating is the process of cooking veggies in a little fat, (Oil or butter or both), over relatively low heat. With sweating, we don’t want the veggies to brown or caramelize at all, as we would when sauteing; that can make for unpleasant burned or bitter note in a soup or stew. We just want our stuff to get translucent, (Especially the onions and leeks), give up some moisture, and start to concentrate and combine their flavor notes: The lower temperature is the key of course. Sweating is another one of those little tricks that separates the kids from the big pool. Aromatics, (Onion, garlic, leek, shallot, celery), are all kinda crunchy in texture: Sweating draws moisture and flavor and softens them up nicely; it is a big head start in making a soup that tastes fantastic right from the get go.


Heat 10 cups of water to a simmer, and toss in your mirepoix. Add salt and pepper to taste. Now add what floats your boat for a nice veggie soup; consider;

A couple nice tomatoes, diced
Cilantro
Potatoes, (Cooked to roughly ½ done, then diced and added)
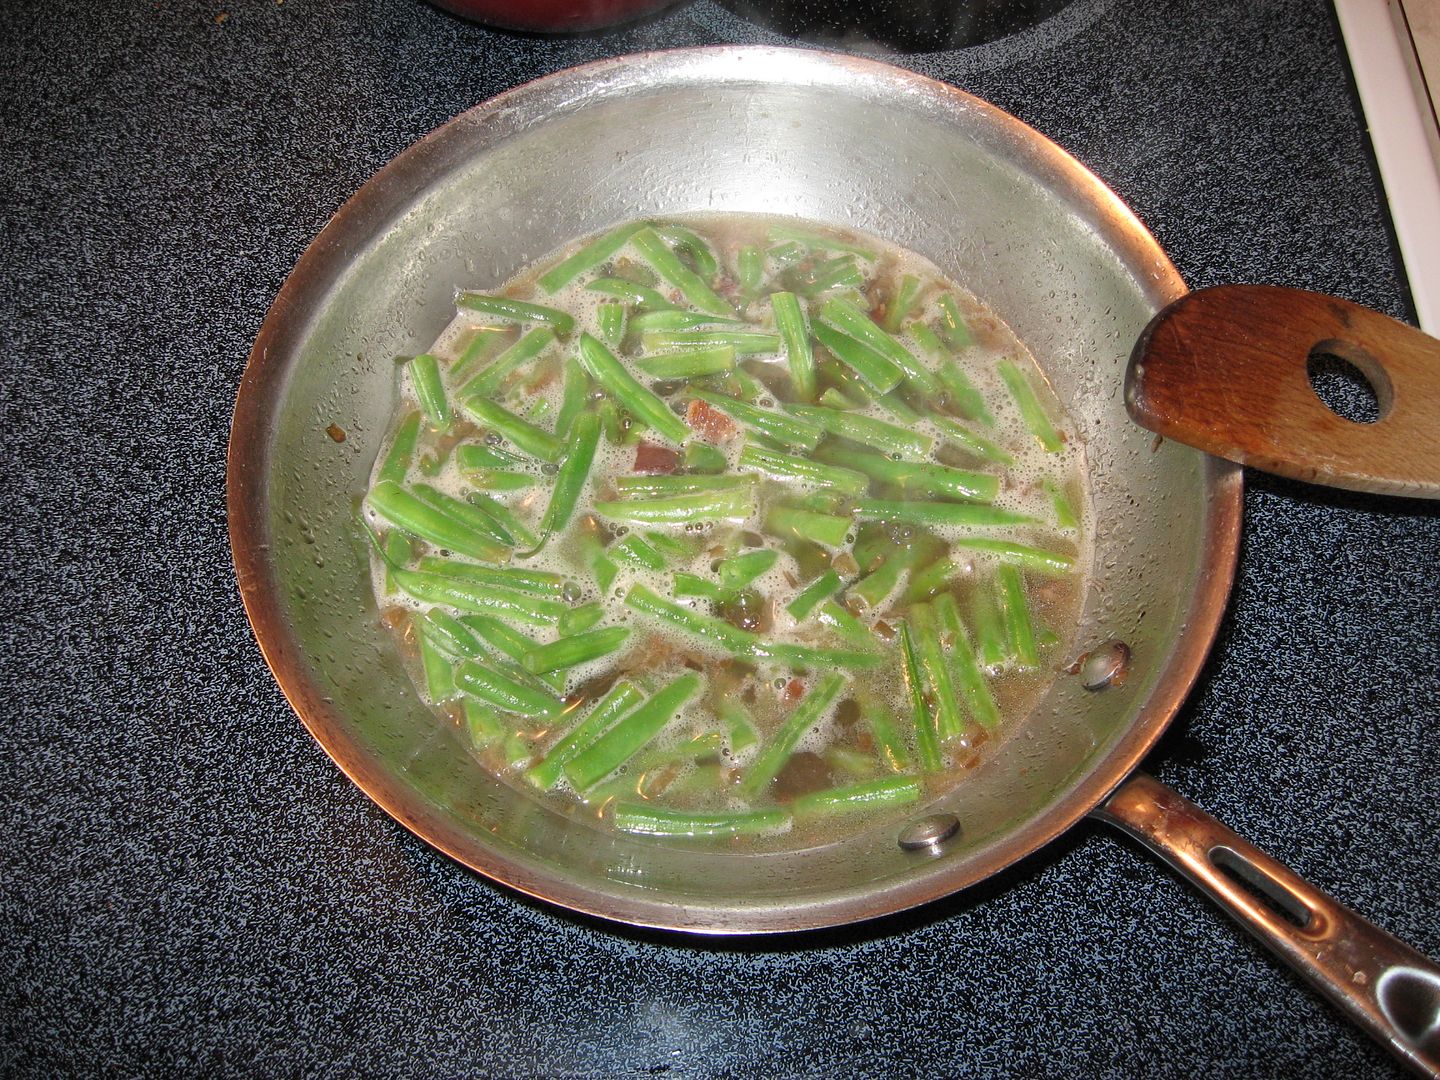
Beans
Mushrooms
Parsley
Thyme
Bay Leaf
Dash of cayenne?
Smoked Paprika?
Smoked Salt?
Smoked or dried Chiles?

Simmer all for a good couple of hours, and enjoy! You can, as an alternative to sweating, roast your mirepoix in the oven for an earthier taste.

Use leeks in conjunction with our replacing onion and shallot for a really nice, subtle but potent flavor note; you’ll be very glad you did!

Notes on storage; leeks can be kinda potent, like their cousins. Store them whole in a paper bag in the veggie drawer of your fridge. Long term, the bottom line is these guys don’t store all that well: You can dry them, and if you freeze them, they must be as air tight as possible and used within a couple months, (After that they kinda get freezer burned and mushy). Of course if you make stock or soup/stew base, you can sure freeze that just fine.

Enjoy!

Monday, September 20, 2010

Cucina Romana

I blame Tony Bourdain for lighting the memory fire, in a recent episode titled simply, Rome, and shot entirely in black and white to honor the work of Federico Fellini… As often happens watching No Reservations, M and I saw something prepared/served/enjoyed that made us look at each other for a moment, and then say, almost simultaneously, “Tomorrow night?” Yup…

Pasta Cacio e Pepe was the thing; pasta with cheese, butter and black pepper and not a damn thing more. If this doesn’t fly in the face of the common sentiment that making pasta dishes takes too long and is complicated, I don’t know what does. I do not remember specifically eating Cacio e Pepe when in Rome, but I do remember spaghetti Carbonara; add eggs and bacon to Cacio, and in fact, that’s what you’ve got, so maybe that was the memory nugget, eh? In any case, fall is coming and that signals a slow shift to the wonderful comfort foods of the cooler seasons, and what better way to start than this?

Note that our version used Parmesan instead of Pecorino Romano, which is probably blasphemous, but it’s what we had and we love it and, if nothing else, if affords us an opportunity to try it again down the line with the real cheese, right?

Our meal shaped up as follows; while prep and cooking were certainly a collaborative effort, the credit for this goes to Monica, who put everything together and had it ready to assemble and finish off when I got home from work.

Pasta Cacio e Pepe with homemade angel hair noodles,
served in a parmesan cheese bowl.
Haricots Verts
Fresh green salad
Peach crisp.

For the pasta, M combined 50% Semolina flour with 50% general purpose and eggs; this was our first run with genuine Italian Semolina flour, which we bought online from A. G. Ferrari. I have to say that this was a big reminder about the origin and quality of ingredients. Homemade pasta is great; homemade pasta with the best ingredients is as good as it gets anywhere... The pasta dough was phenomenal; it was the prettiest golden brown, it was a joy to handle, dried wonderfully, cooked well and tasted out of this world; how’s that for high praise?

M’s Homemade Angel Hair

1 cup all purpose flour
1 cup Semolina flour
3 large eggs
1 Tablespoon Olive Oil
Pinch of Salt

Combine flour and salt in a large bowl; make a well in the middle of the flour and add eggs and oil. Incorporate eggs into flour mixture with a fork by gently turning the flour into the eggs. Work by hand until well kneaded and very elastic. Cover with a dry cloth and refrigerate for 30 minutes. Flatten out dough and cut into quarters to work into noodles.

We contemplated using the pasta attachment on our KitchenAid, but to be honest, we haven’t used it very much, so when we got out that, plus the required sausage maker, and started looking at pieces and instructions and… We looked at each other and M said, “Let’s do it by hand,” so out came our trusty Marcato Atlas and we were off to the races. This maker is the king as far as I am concerned; they are not cheap, so if you ever find a good working used one for under, say, $40, snap it up, (They go around $75 new).

M’s recipe serves 4, so we took the ‘leavin’s,’ (The short sections of noodles), and froze them for later use in soup or more pasta, or… We hung the cut pasta up to dry on a rack for about 20 minutes or so while we got ready to cook.


M grated a whole bunch of Parmigiano; for the bowls, she used a small sauté pan and glass ramekins for molds. She melted a layer of cheese in the pan on medium heat, and when it was nice and bubbly and starting to turn golden on the cooking side, she flipped them onto the molds and let them cool.


Pasta water was prepared with a little olive oil and plenty of Kosher salt, (Your pasta water should taste like it has salt in it, FYI; not knock your butt over sea water, but definitely present!).

For the Haricots Verts, M trimmed the ends as needed, then trimmed the fat from and diced bacon. She sautéed the bacon until almost done, then added diced shallot. She deglazed the sauté pan with a little red wine, added about ½ cup chicken stock and reduced the mixture by about 50% for plating.


Terminology digression:
What is deglazing and why would I do that? Excellent question, invisible Muse! Deglazing is done when foods are sautéed, fried, etc; what you’re doing is simply leaving the heat on, and then using a liquid to loosen up and incorporate all the little naughty bits the cooking process left behind. By getting all that stuff loosened up and in suspension with your deglazing liquid, you get all the wonderful depth and breadth of flavor you’d missed if you didn’t deglaze. In M’s example above, she used the red wine to pull all the bacon and shallot flavors off the pan she might have missed, then combined that with the chicken stock to get a really nice background flavor profile, then reduced it all to concentrate the flavor further. Deglazing is one of another easy little secret that makes a huge difference in taste, so DO IT! You can deglaze with wine, stock, vinegar, marinade, juice, what have you. Try a flavor you feel will be complimentary; experiment and develop your own favorites!


M did a nice green salad, and added fresh wedges of avocado, which was a super touch; the creamy cool of the avocado was amazing with the pasta!

For fruit crisps, M makes the crisp in bulk and freezes it; that way, when she finds some nice fruit, she just pulls some crisp out of the freezer, does it up and viola!


Fresh Fruit Crisp


Choose whatever you like and find in season! Apples, pears, berries, peaches, you name it! Add sugar to taste, cinnamon or nutmeg, maybe some chopped nuts as you see fit. For the crisp;

¾ Cup all purpose flour
¾ cup dark brown sugar
¼ cup rolled oats
4 ounces of unsalted butter, chilled and cut into ¼” cubes
¼ teaspoon salt

Combine all ingredients and mix by hand or with two knives until the butter is pea sized, about half the size of your original cubes. That’s it! Spread an even layer over your fruit mixture in ramekins or a fairly shallow baking dish.

Bake at 350 for about an hour, or until crisp is brown and, well, crispy!


A meal like this needs to be coordinated in preparation to come out just right; you can see we had several balls in the air at one time, so working as a team is not only a joy, it gets it done right. Fresh pasta is gonna wanna cook for maybe 2 minutes, max. You do not want it sitting around for longer than a couple minutes after cooking or it will want to get sticky, so you need to have everything ready to go. We plated the cheese bowls and salad and then finished the pasta.


I took fresh Tellicherry pepper berries and worked them in the molcajete to a medium grind. A rounded teaspoon of berries is plenty for darn near anybody’s taste; be careful with adding the pepper, taste steadily so you don’t go uberbort! I ground extra to fill a shaker with for the next few days use, just ‘cause…


While the pasta water heated, I put a teaspoon of extra virgin olive oil in a sauté pan with 4 ounces of unsalted butter on medium-high heat. I browned the butter to a nice medium tone and then added roughly 1 teaspoon of ground pepper and ½ cup of pasta water and incorporated quickly.


Add the pasta to the sauce and toss thoroughly; we did not add cheese to the sauce/pasta mixture until it was plated, but you can add and toss that as well if you prefer.


Load a generous portion of pasta into a cheese bowl, add haricots and garnish, (We used more cheese and fresh garlic chives from the garden) and serve right away!


The pasta was simply amazing; truly unbelievable the depth of flavor just from cheese, pepper and butter. Impossible to describe adequately, so y'all will just have to try it yourselves: As Mario likes to say, Buon Appetito!

Sunday, September 12, 2010

Herbology


Mint, Rosemary, Garlic Chives and Zinnias

Funny thing, some of the herbs that may be considered aggressive from a taste standpoint can also be quite aggressive in their growth habits; stuff we call herbs can spend a great deal of their time engaged in weed-like activity. Basil, Mint, Thyme, Rosemary, just to name a few; these guys will not only grace a nice dish, they’ll make serious inroads on your backyard if ya let ‘em.

Granted, of those, most can be killed if you really go after ‘em. Only mint has survived pretty much every attempt I made to off it: That circumstance came about not because I don’t like the mint, (I do and ours is exemplary), but because it had worked its way under the back door jam and walls and was growing through and out of the house as opposed to merely beside it. Mint, I have come to realize, like bamboo, is never to be trusted...

Point is, all this wonderful stuff will grow for you darn near wherever you live and probably grow well with minimal attention, and as such, you need to grow it. The bottom line here is taste, and when it comes to herbs, as with any seasoning we want to use regularly, the fresher and higher the quality, the better.

Do a little bit of research and find what you can grow yourself; granted, your gardeners up there have herbs, and you can get ‘em, and you should but, you should also grow your own. Even in a cold climate, herbs don’t take up much room and can even be grown indoors during winter months. There is nothing that I know in cooking quite so satisfying as deciding what herbs you need for a dish, and then simply heading out the back door with a paring knife.

This brings us to the not-so-delicate question; “What about stuff from the supermarket?” Answer; what about it? They’re doing a fine job of holding shelves down, so leave ‘em to it… Seriously, even ‘gourmet’ seasonings from a supermarket are suspect to me. At our house, we treat herbs like we do coffee, and frankly, we buy green beans from very well known and trusted sources and roast our own, so…

Granted, you cannot grow everything you want – Just look at this spice cabinet and you’ll see what I mean:


What you see there also tells a few important stories about storing herbs:
1. There are good places to buy herbs you need to check out. fact is, almost all our stuff comes from two sources: World Spice and Butcher & Packer. As far as I am concerned, you rarely need to go further to find dang near anything, and the quality is as good as it gets.
2. How you store your herbs matters a lot. Glass jars with a very good seal are a must: World Spice sells jars, (As you can see from our cabinet) that are a great size and sport a fine seal. For the stuff you grow and process, you’ll want more. If you have a bunch of spice from the store, you can still put it to good use; toss all the spice, wash the jars and re-use ‘em. ;-) If you're OCD like me, you can buy new jars with tight fitting lids and various shaker tops for not much dough; I got a set of 16 from Amazon for about $12.
3. Herbs are indeed fun to look at, but sunlight ain’t their friend; keep yours in a cool, dry place out of direct sun and they’ll last longer and stay fresher.

Processing herbs is really pretty darn easy, as you’d expect. Drying them is the best trick, of course, so once again, a cheap dehydrator comes in real handy. The sooner you process after harvesting, the better the flavor and punch, of course. Many herbs can be air dried with great success as well, and a few stems of rosemary or whatnot will smell wonderful as they do their thing.

Inspect your stuff for critters and dirt after harvesting. Don't strip leaves from stems if your herb is a leafy one; dry 'em with minimal stems attached and you;ll get more flavor. For berries, such as pepper, coriander and the like, keep and store ‘em whole; you can whack ‘em into whatever form you need with that spare coffee bean grinder right before you’re ready to use them. Same goes for ordering spices and herbs from World Spice or whomever: You’ll note that they offer to sell pure spices and blends whole or ground – Get ‘em whole and grind ‘em as you use ‘em and you’ll get longer lasting product and better flavor and intensity.

Some herbs lend themselves wonderfully to flavoring oils and vinegars, as I’m sure you know. Rather than buying Tarragon vinegar, grow and make your own; you’ll get much better flavor, quality and satisfaction, guaranteed. Be careful about sanitation when doing these infusions, of course; being sunk into oil or vinegar does not guarantee safe eating!

Oil in and of itself isn’t prone to growing bacteria, but the stuff we may want to infuse in it is, so proper caution is a must: Your greatest possible concern is Botulism, (Botulinum). With that in mind, blending your own stuff and leaving it out for any length of time is not a great idea. If you’re making oils to be used right away, there’s no concern, but again, if you’re planning on keeping it around, ya gotta be careful: The key is water, ‘cause that’s what the bad bug needs to do its thing. If you have your infusing herbs 100% dried out, you’re fine, but realistically, how likely are we to achieve that? The easy solution is to refrigerate, and by so doing, assuming you’ve kept everything clean, you can store your infusions for a week or two without a hitch. Make sure, of course, that you’re using high quality oil and vinegar! If you’re giving stuff away, include a little card to explain to the uninitiated how to store and when to discard.

Vinegar, on the other hand, is a purty fine preservative; if your herbs are clean and fresh, you should be fine making infusions. Again, drying your herbs is best, just to be super safe, if you plan on keeping them around for a while. Although I’ve never seen it said you should do so, I discard anything over a month old, just to be on the safe side, and besides, after a month things are bound to be getting a bit funky, right?

If you’re making mixes of oil and vinegar, then the caution signs go back up, and the more stringent storage and discard rules apply once again.

For my mind, infused oils and vinegars should be predominantly single note creatures, like rosemary or tarragon solo. Simple mixes, following the Rule Of Three, are just fine too. By this, I mean no more than three spice notes; garlic/lime/dill, lemon/sage/rosemary, tomato/oregano/dill, etc. In all flavoring/infusing considerations, a teaspoon of herb/spice to a cup of oil or vinegar is a good starting point, then adjust as you see fit.

And while we’re talking mixes and blends… Checking into World Spice and Butcher & Packer, you’ll find a bunch of blends from all over the world; I encourage you to try some and then extrapolate on your own from that starting point.

Using spices and herbs can be fraught with danger, mostly from the too-much-and-too-many camp! Granted, some things need myriad ingredients to be what they are, black mole, as a fer instance; but if you watch food TV at all, especially something like Chopped, you’ll notice a pervasive and recurrent theme, wherein a competitor loads 12 different spices and herbs and liquors and such into one dish; invariably, the savvy restaurant pro judges always say “WAY too many spices/herbs/flavors/ideas going on here,” and they’re right.

Here’s my basic philosophy on creating and cooking great food; keep these tenets in mind and I think you can’t really ever go wrong:
1. First and foremost, eat and serve the highest quality ingredients you can find and afford; that really is job #1.
2. That said, let the taste, smell, appearance and overall impact of a great food speak; we choose what we do because we want to taste that, not spice covering that or anything else that masks, detracts or otherwise diminishes the taste of great food.
3. Balance a meal sensibly; be it portions or courses, folks like a nice variety and balance to a meal. Think not only about what folks like to eat, but how much and when. It’s actually for my mind much easier to serve big, multi course meals to a lot of folks then a couple, so plan and execute accordingly.

So, when it comes to seasoning, I’ll refer back once again to The Rule of Three; no more than three major notes in any one dish is a great general rule of thumb. Yes, it can and sometimes must be broken, and yes, salt and pepper do count… Is this for real? Yeah, it is. Love the high-end steakhouse taste and wonder what they do differently than you do? Great quality meat, properly butchered, stored and aged, usually nothing more than salt and pepper on it for seasoning, and done quickly over super high heat. Blown away by that green bean amusé bouche; fresh beans, lightly roasted, with butter, lemon, and salt. Crudité radish to die for; salt and good butter. Guacamole got your tongue; salt, lemon, chile; that’s it…

Get the picture? there are classic combos of course; garlic, lime, dill; lemon, thyme, pepper; basil, parsley, pepper; salt, cumin, oregano, and on and on. Pick some favorite notes, try some blending and tasting, and see where it takes you!

Tuesday, September 7, 2010

Smoke 'em if ya got 'em

Just a quick rejoinder to the salsa thread regarding smoking chiles. I should point out that, according to true smoking gourmands, I probably already blasphemed with my take on process; so be it. Cooking is as rife with The Right Way and the Only Way as guitar making, and that’s saying something. While some things do need to be done a certain way to get the right result, there is plenty of wiggle room left for the most part; smoking is, for my mind, one of those gray areas.


Freshly roasted Hatch chiles cooling

When I wrote up directions for smoking chiles, I made a broad assumption that everyone has or wants to have access to a smoker, and it ain’t necessarily so. As such, I thought I might offer some viable alternatives to the rest of y’all who want the flavor but not the additional stuff!

If you watch food TV, you probably have seen some variation on the stovetop smoker; all I can say is this; I wouldn’t go there unless you are cool with a house full of smoke. Pro kitchens can move air at a volume we can’t even touch and that’s that…

If you own a grill, you’re in business however. That said, it’s already time for a digression: Down here in the south, barbecue is almost religion, and how one gets there is near and dear to a cook’s heart. Hence, a little terminology is in order, and yeah, this is one of those things where it needs to be done a certain way!

A lot of folks say, “We’re gonna barbeque,” when what they mean and do is, in fact, grilling. In essence, true barbeque requires, first and foremost, indirect heat, and secondly, the ability to cook low and slow. With what you’ve read thus far about smoking, you might note that these two methods sounds a lot alike, and in fact, they are; true smoking also requires indirect heat and low and slow, and as such, the two are indeed intrinsically linked. Grilling, on the other hand, is cooking relatively quickly over direct heat, as we know and love with burgers, dawgs, corn on the cob, veggies, and the like. This is why you’ll see a barbeque/smoker and a grill in many a backyard.

Ok, so back on track. No smoker, but want the taste; no problem. There are a lot of wood products made for adding smoke to a grill these days; I’d bet your grocery has ‘em, and if they don’t, or don’t have what you want, head on over to Butcher and Packer online; they have everything in very high quality and very decent prices. The products made for the grill are cheap, ready to use and allow you to get some flavors you might not have readily available, like Mesquite, Apple, or Hickory.

If you do, on the other hand, have a decent smoking wood at hand, then small pieces and chips, soaked in water for a half hour or so prior to cooking, will do the trick just fine.

Take whatever wood source you’ve chosen, make a bag roughly 6” to 8” square with a double layer of aluminum foil, put your chips, etc in that, seal it up, and poke a good few holes in the top. Place your smoker bag on your flame deflector/above your burner with the heat on low, and put your chiles right above that, (Or use one for each burner if you’re doing a big batch process), close the lid and let ‘er rip. You should get a decent +/- 10 to 15 minutes of smoke from such a rig and that’ll do the trick just fine.


Homegrown chipotles on the grill...

And last but not least, how about if you don’t own a grill, don’t want one, don’t have room, etc? Still, no problem: Get online with Butcher and Packer again and look up their powdered hickory smoke. It is great stuff, all natural, packs a wallop and I defy dang near anyone to tell the difference on the finished product as to where the smoke flavor came from. This stuff is great in the dead of winter or spur of the moment. Mix the powder with a little olive oil, rub it on your chiles and roast ‘em in your oven; great flavor, great smell while cooking and no smoke filled home!

Smoking is not limited to chiles either, of course; you can use these methods for tomatoes, onions, garlic, potatoes, and on and on! Try smoking something you've not done before, like fresh cherries, apples, or limes - You'll be surprised what great things you can and will do!

Sunday, September 5, 2010

¡Salsa Fresca!

This just in!

Hey Eben and Monica,

OK, the tomatoes are now coming in faster than anyone wants to eat sliced, fresh tomatoes, and the time of salsa and stewed tomatoes is upon us.

I have made salsa a few times, but never really settled on a recipe. It has been good, but not great, and I'd like to take it up a notch. I also would like to make at least one big batch of real "chipotle" salsa with roasted __________ (peppers? jalapenos? tomatoes? what do I roast?) And how do I roast? On a gas grill, or in a gas oven (my only two available options, unless I start a fire in the guitar shop.) I have 4 kinds of tomatoes: Sungold Cherry (good for a sweet salsa?), Italian Plum, Oregon Spring medium big, red, slicing tomato, and an heirloom called Pruden's Purple. I have mucho Jalapenos, plus several varieties of sweet peppers (Ace, Lipstick, Carmen, Banana.) Our Cilantro is at the coriander stage, so that will need to be purchased. I'll also buy onions, as ours are small and probably too mild for good salsa zing.

When talking salsa recipes, one has to put their cards on the table about just how hot is hot enough. For me personally, I have had some changes to my innards, where my tongue can handle a lot hotter than my stomach and intestines, so if you would be so kind, please offer a variation on salsa recipe(s) that are closer to commercial "medium" than "hot." I know I lose macho points for that, but physiological reality is reality.

Thanks!

Dennis


Oh it will absolutely be our pleasure, D-Man!! Salsa runs like water at our house; we always have several varieties working, as any self-respecting Tejano should! We’ll divide the subject broadly into fresh and cooked salsas and go from there.

Basic considerations for salsas are very loose; use whatever variety of tomato floats your boat; sweet, savory, peppery, any and every note can and will do nicely. Sweet onions are better than hot or too peppery; there are plenty of other flavor notes to pick up other than hot onions. Fresh cilantro is a must; if you don’t have it, don’t add it.

Now, let us address heat right up front. When it comes to using chiles, do use your imagination, but as Dennis alluded to in his request, in general it’s best to make things cooler than you might like if you’re a real ChileHead: If you’re making something to feed others, you really should make the heat level lowest common denominator. I don’t mean don’t have any heat in a salsa,, because to me, that’s just tomato sauce; I do mean build something reasonable that most folks can handle, and then add a side dish of fresh chopped chiles for your fellow ChileHeads to add as they see fit. As some of you know, I dig heat big time; that said, when we do salsa for others, we use one cored and seeded mild jalapeño for the chile and that’s it…


OK, let’s do the fresh stuff first; literally translated, Pico de Gallo means ‘Roosters Beak’ and maybe for that reason is also sometimes called Salsa Fresca. Pico is our personal favorite manifestation of the art. The essence of it is simply tomato and onion, though for our minds, you must have cilantro and chile as well. Pico lends itself to many, many things, from simple munching with chips, to a scoop on soup or stew or damn near anything else from eggs to enchiladas. Here’s the basic recipe we work from:


Classic Pico de Gallo

4 tomatoes of your choice, cored, seeded and diced
1 sweet onion, diced
¼ cup fresh cilantro, minced
1-3 chiles of your choice, cored, seeded and fine diced.
Salt, pepper and sugar to taste.

Note: You might look at the recipe above and ask, “Sugar? huh?!” Well, in pico especially, salt and/or sugar can and will bring out flavor balances, so experiment and use them as you see fit.

Options:
MANY, is the bottom line. Add FRESH lime, lemon, orange, or grapefruit juice to add a great citrus note to the flavor. Juice a tomato and add that. Garlic, dill, shallot, annatto, chipotle, smoked paprika, smoked cherries, smoked salt, smoked pepper seed - Get the picture? Experiment and see what floats your boat!


Picante:
A lot of folks have asked about the difference between a pico style salsa and a picante style salsa; it’s a great question, not a dumb one! To us down here, pico is the raw, mixed veggie salsa with a minimal juice or sauce component, while picante is a salsa that is predominantly sauce-based. If you think of restaurant salsa, it is much more often picante style than pico. That said, there’s a broad assumption that picante style salsas are always cooked, and I’m here to say that it ain’t necessarily so; to me, the freshest and best picantes are NOT cooked, but that’s just me – You do what floats your boat, right? Right! One general note, the components of picante should be a finer dice/mince than pico; it’s just a bit more blended/refined…


Fresh Salsa Picante

4 tomatoes of your choice
1 onion, skinned and minced
¼ cup minced cilantro
2-3 chiles of your choice, seeded, cored and minced
1 clove garlic, minced
Salt, pepper, and cumin to taste.

Blanche your tomatoes; peel them all after blanching.
Take 3 of your ‘maters and put ‘em in a blender, processor, or have at ‘em with a boat motor until they are thoroughly liquefied. Add salt, pepper, garlic and cumin to taste to this liquid and set aside.

Dice your remaining tomatoes, and combine with onion, cilantro, and chiles. Add your liquid component and blend thoroughly. Taste and adjust spicing as needed. Refrigerate and allow to chill and blend for at least an hour prior to serving.


Cooked Salsas:
The primary delights of cooked salsa are twofold; one, you get a blending and sophistication of flavor that is not always found in a fresh salsa, and two, you get longevity, which is very good when winter days grow shorter, eh? That said, cooking a salsa also allows you to add subtlety of flavor that may not always fly in a fresh product, so feel free to think outside the box in this regard!

For recipe considerations, I offer the following:

Classic Red Salsa

10 -12 tomatoes of your choice
1-2 med onion, diced.
½ cup fresh cilantro, chopped
2-4 chiles, your choice, blanched, stemmed, veined and seeded.
1-2 cloves of garlic, minced
2 tablespoons olive oil
2 teaspoons cider vinegar
Salt and pepper to taste

Blanch half your tomatoes, then peel and blend, puree or motorboat to a nice, even consistency. Put that mix into a sauce pan over medium heat.
Add oil to a sauté pan over medium-high heat. Once oil is hot, add onion and chiles and sauté for a couple minutes. Remove from heat and garlic and allow to sauté for another minute or two.
Combine sauted veggies, the rest of your tomatoes, Cored, seeded and diced), the cilantro, vinegar, salt and pepper to taste, and simmer on low heat for about an hour. Remove from heat and place into a non-reactive container to cool. Will last several days refrigerated, also can be canned, of course!


Salsa Verde

10-12 tomatillos, husks removed, of course…
1-2 small sweet onion, diced
¼ cup fresh cilantro, chopped
2-4 green chiles of your choice, (Anaheim or Hatch are nice), diced
1-2 cloves of garlic, minced
Salt and pepper to taste.

Employ the exact same process as for the red salsa above and you’re good to go!

Smokin!
First and foremost is Dennis’ question above; how about chipotle? Yeah, buddy! Like I said above, we love jalapeños and eat ‘em like candy; we love chipotle just as much, you see, ‘cause they ain’t nothin’ more than a
dried and/or smoked jalapeño, and that’s a fact! Smoking or roasting your own chiles will get just the right note you want.

I take my chiles and roast them on the grill as my go-to method; just layer chiles on the grates and let ‘em have it until the skins are black and blistered. Remove them and allow to cool. You can skin, stem and seed then and further process for freezing or canning, or simply bag ‘em up, suck the air out and freeze ‘em right like that; all those options will work great and give a very nice flavor.

If you have a smoker, put a nice even layer of whole chiles under moderately low heat smoke, (Under 200 degrees for me) for 20 to 60 minutes depending on the level of smoky you want. I’ve smoked already roasted chiles and fresh ones; they all come out nicely. If I’m going to use the dehydrator and completely dry the peppers after smoking, I use fresh; if I’m gonna can or freeze, I usually roast lightly first, then smoke.

Fully dried, smoked jalapeños processed in your spice blender, (AKA a second, cheap coffee bean grinder), makes chipotle flake and powder, with which you can do SO much! For salsa, add your smoked peppers in lieu or in combination with fresh chiles to get the level of smokiness and flavor you like; that usually means making several batches to find just the right blend – Darn…

As for canning, while many have hot water processed salsa and done OK, I have to say that I prefer and advise pressure canning for all salsas; because of that, cooked salsas lend themselves much better to the process than fresh do, so keep that in mind as you haul out the canning gear this fall.

So there ya go, D-Man, did I cover everything?

Wednesday, September 1, 2010

Good, Better, Best

OK so, let’s generalize about eating veggies. We’ve covered some specific eats and styles of cooking, but big picture, what to do? Here’s a few thoughts.

Crudité:
AKA, fancy French word for raw! Raw veggies are wonderful, and there’re few better methods to get great flavor from them: Crudité veggies are usually prepped and cut to bite size, which is nice for your diners, given the robust textures involved. While crudité veggies are usually done as an appetizer, they needn’t be held to just that: If you’re doing a multi-course meal, consider a crudité course between others as a nice palette cleanser. You can certainly add raw veggies to a main course or salad as well. A crudité course typically involves something to dip the veggies in, like a nice olive oil, balsamic vinegar, or a vinaigrette; even super simple things like butter and good salt with fresh radishes is a real treat.

Steaming:
A lot of veggies will turn out grandly if steamed, but not that many folks do it – I’m not sure why, maybe we feel we need special equipment, etc… Truth be told, a steaming basket does do a better job and if you’re truly gonna steam, ya kinda need one: See, to do this correctly, you need a little boiling water turning to steam beneath your veggies, with the rising, moist heat doing the cooking. If your veggies are sitting in boiling water, well, you’re not steaming, OK? Obvious choices to best benefit from this method include sugar snap peas, carrots, artichokes, asparagus, quartered onion or cabbage, and…

Boiling:
Well, let’s face it, boiling is kinda crude in the big picture of things: If you’re preparing nice, delicate, flavorful veggies, why boil ‘em to death if you have options? Answer, don’t, just do the ones that need or want this method. Truth be told, I can’t think of many things other than spuds that really want to be boiled… Yams, maybe turnips… I just can’t think of much more, and truth be told again, most of these will taste, look, and feel better with other methods, such as…

Roasting:
Roasting is cooking with dry heat, which might sound an awful lot like baking because… It is. Either method speaks of cooking with dry heat, with maybe a small amount of fat or liquid; baking usually refers to breads and baked goods, while roasting speaks to eat, fish, poultry, etc. For veggies, roasting is best done in an open pan, (We like glass and stone a lot, but metal’s fine if that’s what you’ve got). Dang near any veggie you want to cook will love being roasted and will reward you with depth and intensity of flavors that’ll knock your socks off. From potatoes to tomatoes and everything in between, try it, you’ll like it. Love asparagus or artichoke steamed? Try ‘em roasted with a drizzle of good olive oil and salt. Roast disparate veggies, (i.e. those that cook at different times), together by varying the cut you use to prepare each veg; for example, cut potatoes and carrots relatively small, while leaving celery, onion and tomato bigger – Balance things right and they all get done at the same time and are juuuuuust right! Roasting absolutely begs for flavor, so indulge, but conservatively – Apply my Golden Rule of Three, (No more than 3 spices, major flavor notes, etc), and have some fun: Olive oil, salt and Oregano; Garlic, lime, dill; thyme, chive, and balsamic vinegar; Salt, Pepper, and Rosemary – get the picture?

Braising:
Brai… huh?! Oh, trust me, if you don’t know braising, you wanna, for real! Braising means browning food in a fat, and then slow cooking it in a covered, liquid filled container. Do veggies dig this? Is the Pope Austrian? YES!! What are we talking about here? OK, demo time – how about killer root veggies for a nice treat? take potatoes, carrots and beets, cut ‘em into roughly bite sized pieces, and then heat a sauté pan to high with good olive oil in it. Brown the root veggies evenly, then put them in a casserole pan and cover with a bottle of good dark beer, like a Porter or Stout of your choice. Add garlic, salt, pepper, and a shot of Tabasco, and let that mix simmer until the veggies are fork tender, then serve with… Get the picture?


Anyway, there ain’t much right and wrong, just what you like, what you don’t, and what you ain’t tried yet – So try something here you’ve not, and let me know whatcha think!